
Yes. You can convert a wired USB keyboard to wireless if the keyboard still works as a normal USB keyboard and you are willing to do a DIY internal modification.
Short Answer
The main WSCOME hardware for this job is WBT-V3. It can turn a wired keyboard into a wireless keyboard with Bluetooth or a matching 2.4G receiver, but it is not a plug-and-play USB dongle. You still need battery wiring, internal mounting, and enough space inside the keyboard case.
Quick Fit Check
If you are asking whether a wired keyboard can be converted to wireless, use this quick check before opening the keyboard.
| Situation | Best WSCOME answer |
|---|---|
| Your keyboard is a working wired USB keyboard and you are comfortable with DIY wiring | WBT-V3 is the right conversion module to consider. |
| You want one keyboard and mouse for several computers without modifying the keyboard | WBT2-V4 is usually the easier external option and can support up to 8 computers. |
| You only lost the original receiver for a random 2.4GHz wireless keyboard | WBT-V3 is not a replacement receiver for that keyboard. This guide is not the right fix. |
| Your keyboard has unusual power needs or no room for a module and battery | Test first and avoid assuming compatibility before installation. |
Choose the Right WSCOME Option
- Choose WBT-V3 if you want to keep your current wired USB keyboard and do a DIY internal conversion.
- Choose WBT2-V4 if you want an external no-modification option for using one keyboard and mouse across multiple computers. WBT2-V4 can support up to 8 computers, while the monitor/video setup stays separate.
- This guide is not the right fix for a random 2.4GHz wireless keyboard that only lost its original receiver.
What skill level is needed?
This project is best for users who are comfortable opening a keyboard, testing USB wiring, placing a lithium battery safely, and checking that the module fits inside the case before final assembly.
What You Need Before Starting
- A wired USB keyboard that you are willing to modify.
- A wireless keyboard conversion module such as WBT-V3 DIY Wired Keyboard to Wireless Conversion Module.
- A suitable 3.7V lithium battery, such as a quality 18650 cell when space allows.
- Basic tools for opening the keyboard and routing wires safely.
- Enough space inside the keyboard case for the module and battery.
Safety and Compatibility Notes
Only attempt this modification if you understand the wiring and battery polarity. Reversing the positive and negative battery connections can damage the module. This guide is intended for USB wired keyboards; keyboards with unusual internal designs or high power requirements may need extra checking.
Detailed DIY Conversion Steps
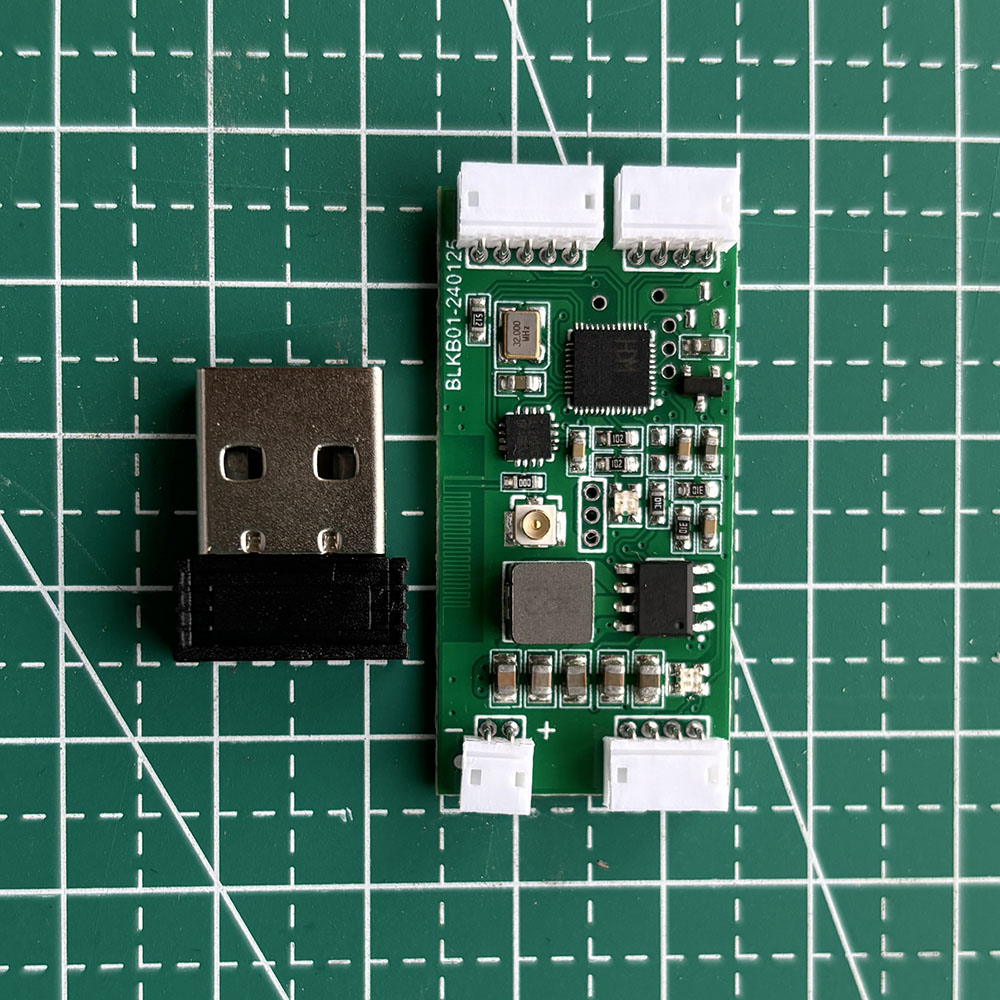
Original Wiring and Module Test Notes
Thank you for visiting my blog. In this article, I will teach you how to transform a wired keyboard into a wireless keyboard and have the ability to quickly switch between multiple devices.
What we need to prepare is a wscome modification module, a USB keyboard to be modified, and a lithium battery. The module only supports keyboards with USB interfaces.
The module itself supports Bluetooth 5.3 and 2.4g wireless. Both modes support fast switching of up to 8 devices. Due to the working principle of Bluetooth, it takes about 2-5 seconds to respond when switching using Bluetooth mode. The advantage is that many devices have built-in Bluetooth and no additional receiver is required. The switching of 2.4g wireless mode is very fast, and it can be switched successfully instantly when the switch is pressed. The disadvantage is that the module only comes with 1 2.4g receiver. You need to buy an additional receiver. The good news is that the price of the receiver is very cheap.

The Type-C interface can charge the battery. The module has a built-in charging control circuit, and if you want to set the module parameters, you also need to plug the data cable through the Type-C interface. The USB-A interface connects to the keyboard. Provides keyboard signal input. The battery interface connects to a lithium battery with a voltage of 3.7v to 4.2v. Be careful not to connect the positive and negative poles in reverse. The wrong connection will burn the module. The power switch has a blue indicator light. Press once to turn on the power. Press twice in a row to turn off the power.
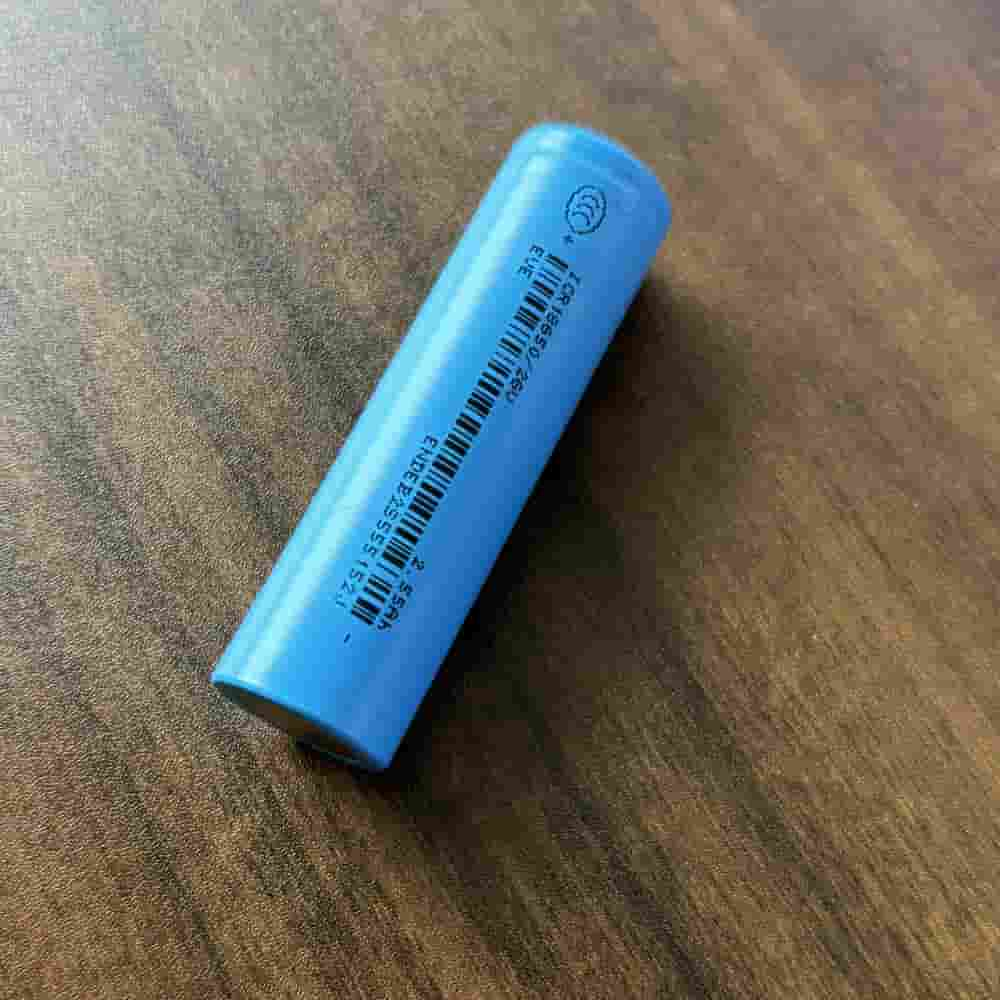
Lithium batteries are usually 18650 cylindrical or soft-pack lithium batteries. There are many brands of soft-pack lithium batteries available. The quality varies. Many of them have false capacity. So if the keyboard can fit 18650 lithium batteries, it is best to use 18650 batteries. Regarding battery life, the module itself is very power-saving. The working current is only 0.02 to 0.03 amps, which is about 0.07 watts. So the battery life after modification depends only on the capacity of the battery you use for modification and the power consumption of the keyboard itself. It is recommended to use Panasonic or Sanyo lithium batteries with a capacity of more than 2500 mAh.
Appearance of soft pack lithium battery

18650 cylindrical lithium battery appearance
Before we start the transformation, let’s test the module first.

Connect the battery. Plug the keyboard data cable into the keyboard port of the module. Turn on the power switch. Test whether the module supports your keyboard. Don’t go through all the trouble to complete the modification only to find out that the module does not support your keyboard.

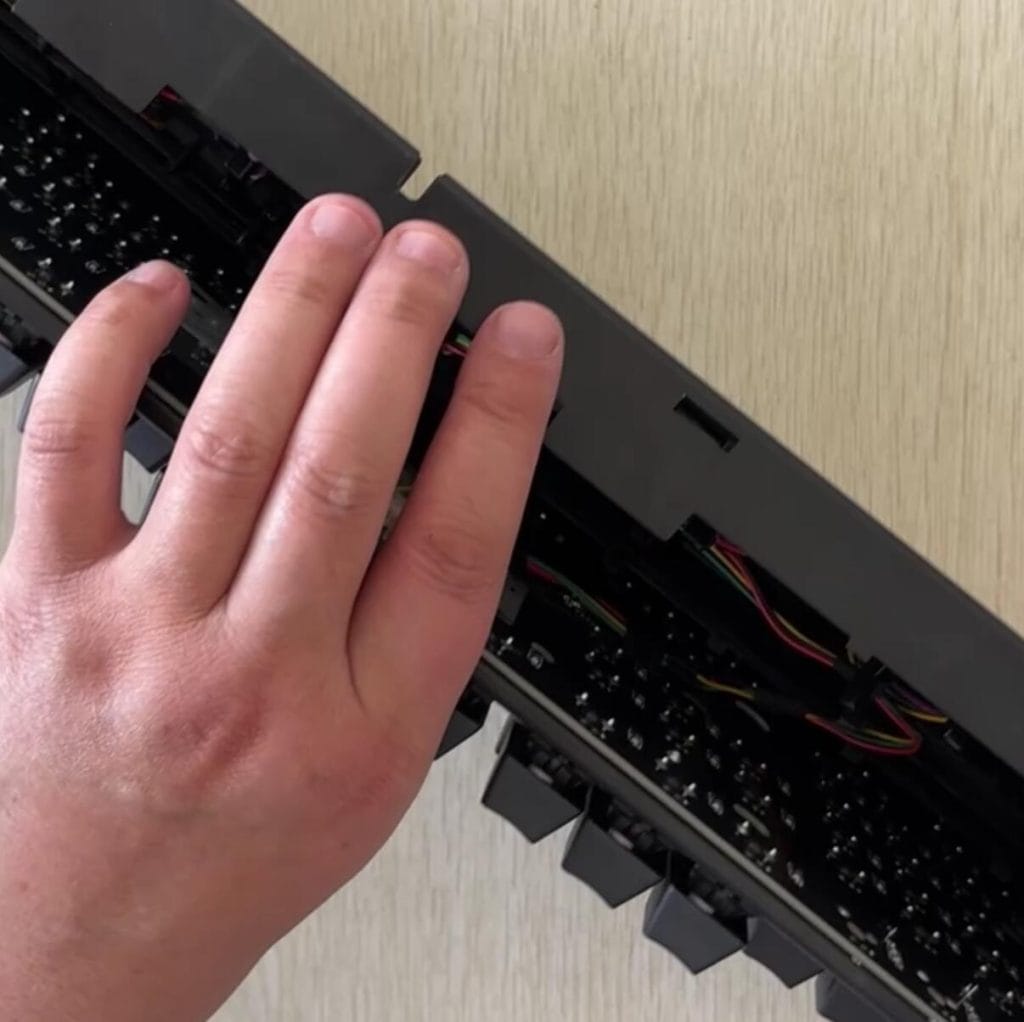
The test is complete, no problem, perfect support, now disassemble the keyboard shell. The disassembly method of each keyboard model is different, you can use Google to search for the disassembly method of your keyboard model. My keyboard is easy to disassemble, there are no screws, use a plastic sheet to insert the gap, and it is very easy to disassemble. You can use a discarded bank card.

The keyboard motherboard looks like after disassembly. There is a data cable on the back of the keyboard. Keyboards are all USB2.0 data cable definitions. Most have 4 wires, some have 5 or 6, and the extra ones are shielded wires. You don’t have to connect them.

We can use a multimeter to measure from the plug end of the data cable and find the corresponding wiring sequence on the motherboard. vcc, gnd and D+, D-. After finding the corresponding wiring sequence, find the appropriate plug from the purchased module packaging bag. Cut off the socket connected to the keyboard on the module, and then connect the wires on the keyboard motherboard to the keyboard access line of the module in the correct order. If you feel that this part is incomprehensible. Or you can’t find a usable wiring in the packaging bag. Then the safest way is to use the original data cable, cut it short, and then connect it according to the original color of the wire, using the original USB plug,


After this step, the modification work is actually more than half done. Now you just need to find a suitable position inside the keyboard to fix the module and battery. In order to install the battery, the keyboard I use needs to cut the internal reinforcement ribs. It turns out that a sharp utility knife is the perfect tool for dealing with this kind of plastic keyboard. After cutting, it is best to grind off the burrs to avoid puncturing the battery. When choosing the battery installation position, you should also pay attention to the fact that there is a lot of solder on the back of the motherboard. If the distance is too close after the cover is buckled, it is easy to puncture the battery.
Now find a suitable location for the charging type-c port and the switch. I found that the wire slot at the bottom of the keyboard is a very good space. Just enlarge the slot a little bit. One end fixes the type-c socket, and the other end fixes the power switch.
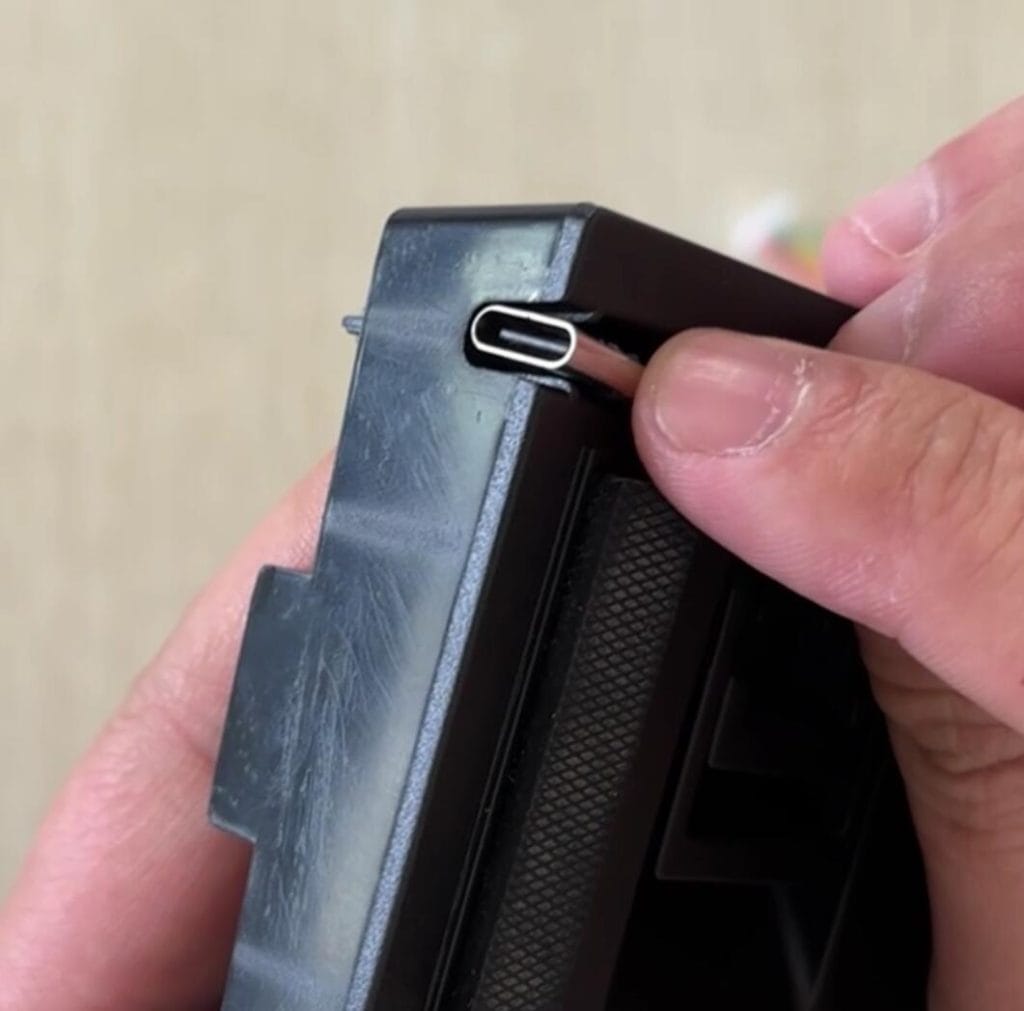
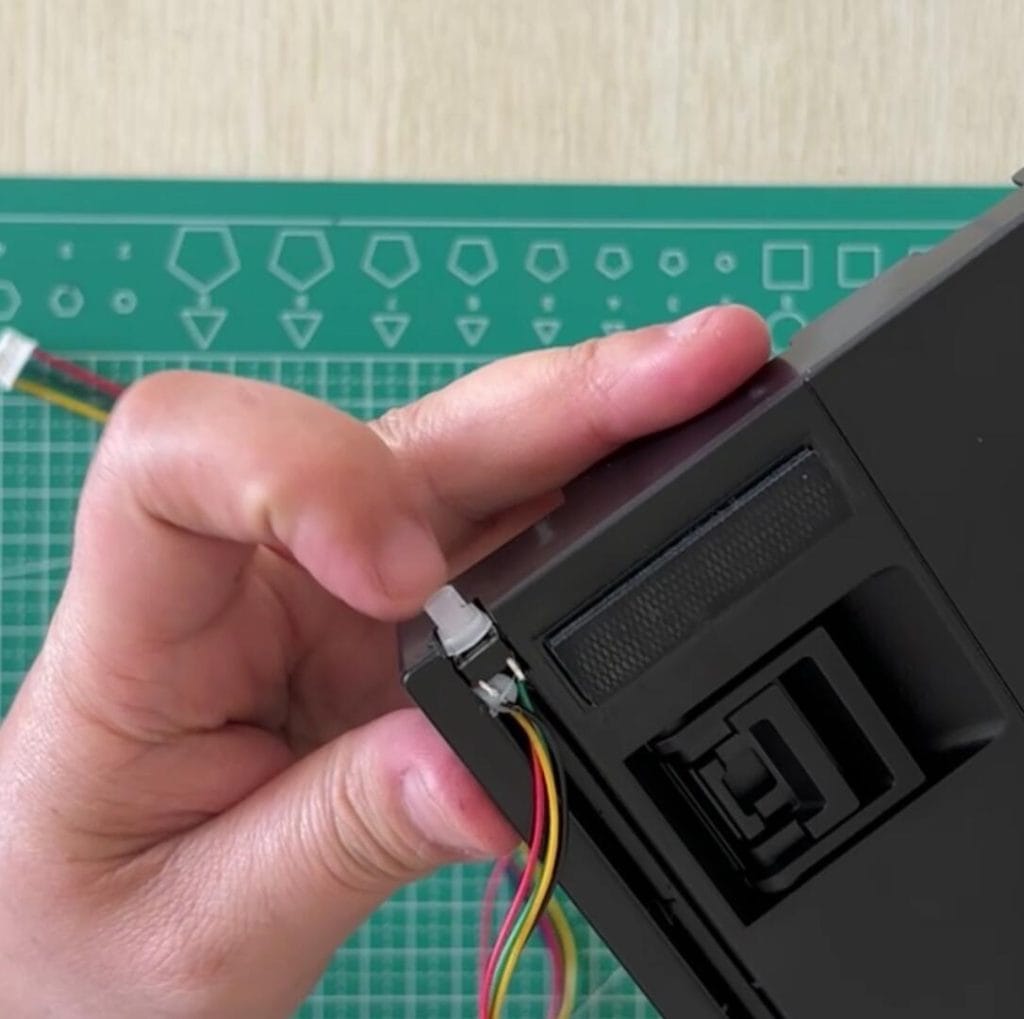
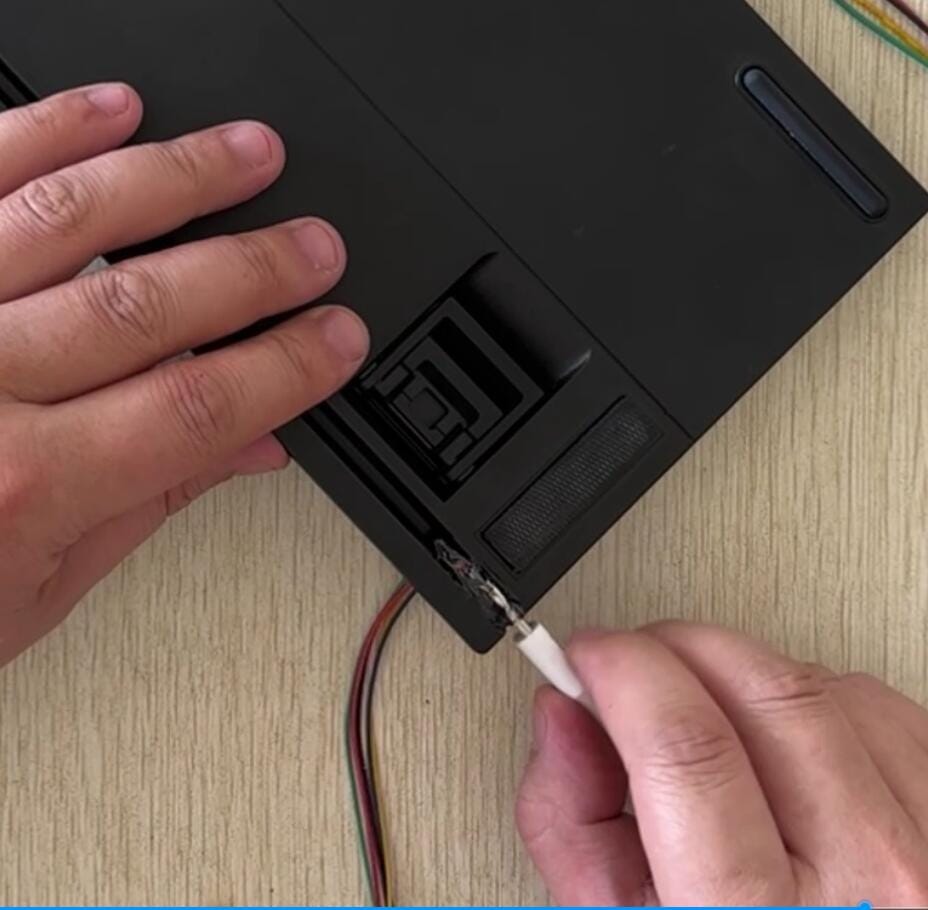
Finally, use hot melt glue to fix the type-c. Here is a little trick. You can use the USB data cable to insert the socket to help fix the position of the socket.
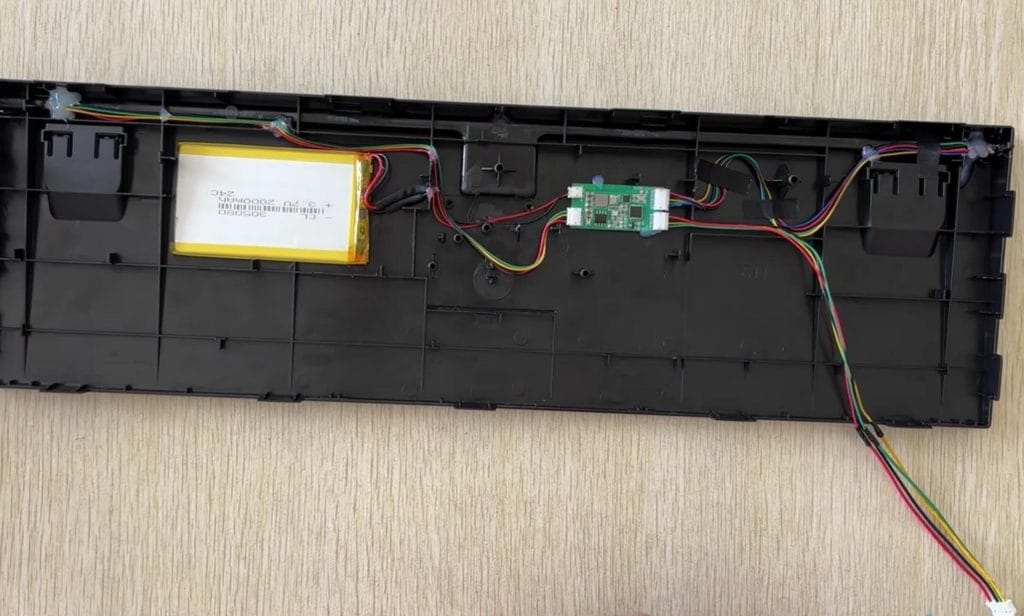
Use hot melt adhesive to fix the module and wires. It is best to use double-sided tape to fix the lithium battery, because the high temperature of hot melt adhesive will have an adverse effect on the battery. You can use a plastic sheet or a strong paper sheet to cover the battery and the keyboard motherboard to prevent it from being punctured by solder.
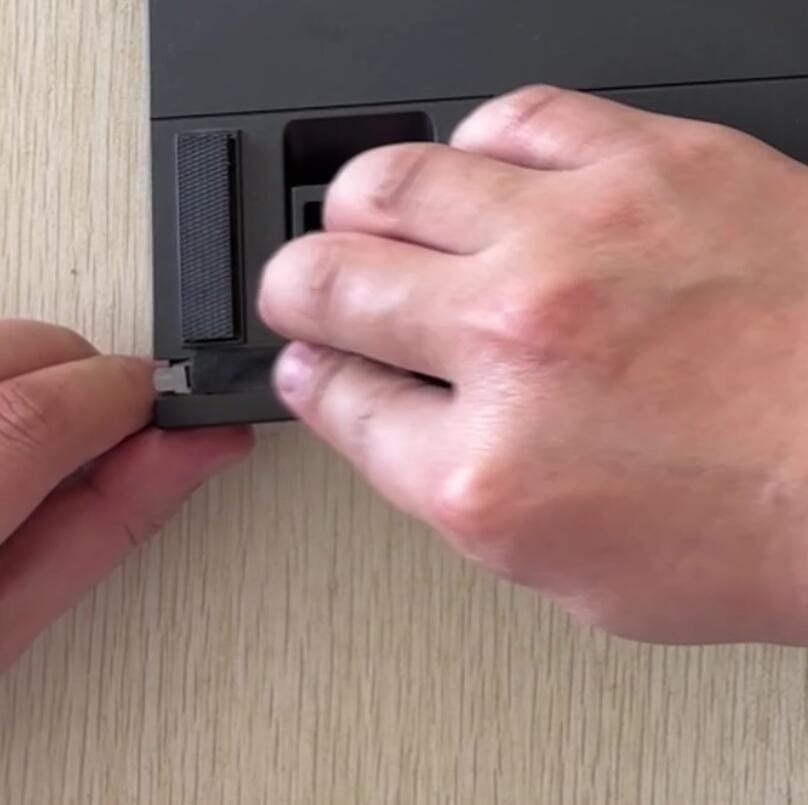
After fixing the inside, you can cover the outside with flannel tape, which is more beautiful. Basically, no traces of modification can be seen.
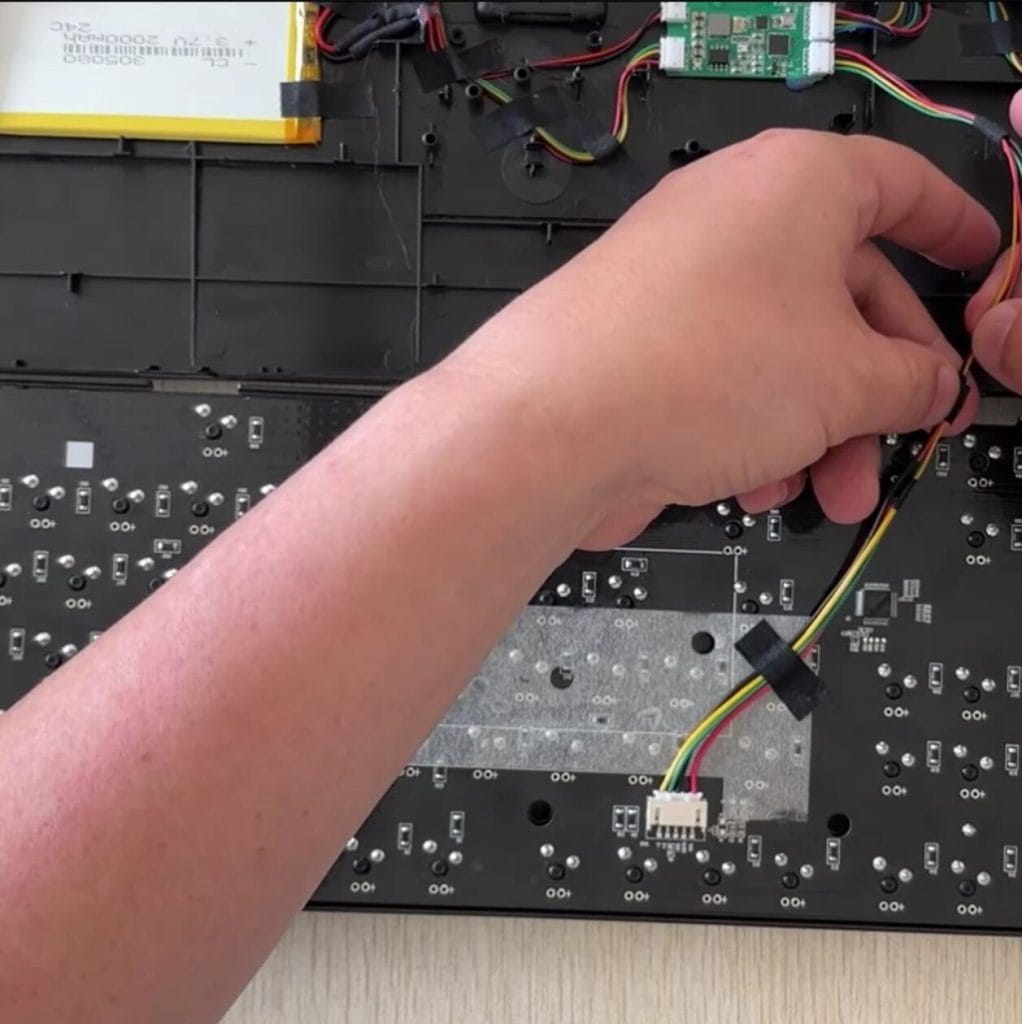
Connect the keyboard and module cables, and install the housing.
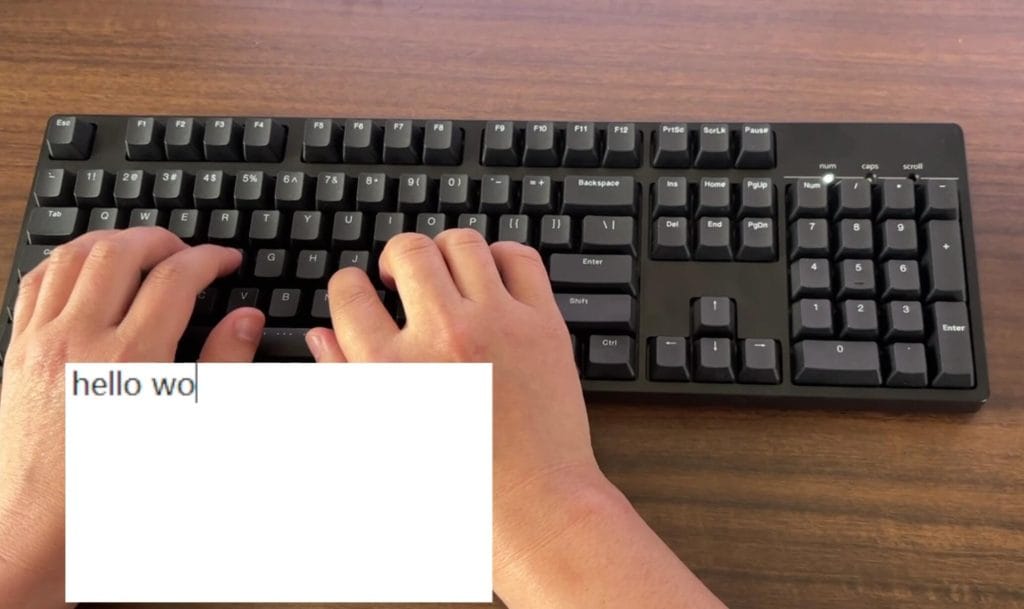
A clean WBT-V3 conversion should now work as a wireless keyboard while keeping the keyboard you already like. If you need the WSCOME module used for this project, see the WBT-V3 wired keyboard to wireless conversion module.
Related WSCOME Guides and Products
- WBT-V3 wired keyboard to wireless conversion module
- WBT-V3 lithium battery guide
- WBT2-V4 keyboard and mouse switch for multiple computers if you want an external no-modification option.
- Watch the WBT-V3 video tutorial on YouTube
Recommended WSCOME Product
For this wired keyboard conversion guide, the main product is the WBT-V3 wired keyboard to wireless conversion module. Use WBT-V3 when you want to keep a wired USB keyboard and convert it internally. Use WBT2-V4 only when you want an external keyboard and mouse switch for up to 8 computers without modifying the keyboard.